
Silicon Motion 製品を macOS システムで使用する際には、下記の記事も参照してください。
「Plugable 社 Silicon Motion 技術仕様製品と macOS のサポートについて」
このページでは、Silicon Motion 社製「macOS InstantView」アプリケーションを使ってドライバを導入し構成する手順を説明します。macOS バージョンによって異なるため、ご自身が使用しているバージョンの欄を参照してください。
- macOS 13 以上
- macOS 11 ~ 12.x
1. [macOS 13.x 以上] InstantView 導入手順
1. Silicon Motion InstantView アプリケーションを、Plugable 社ドライバ・ページからダウンロードします。
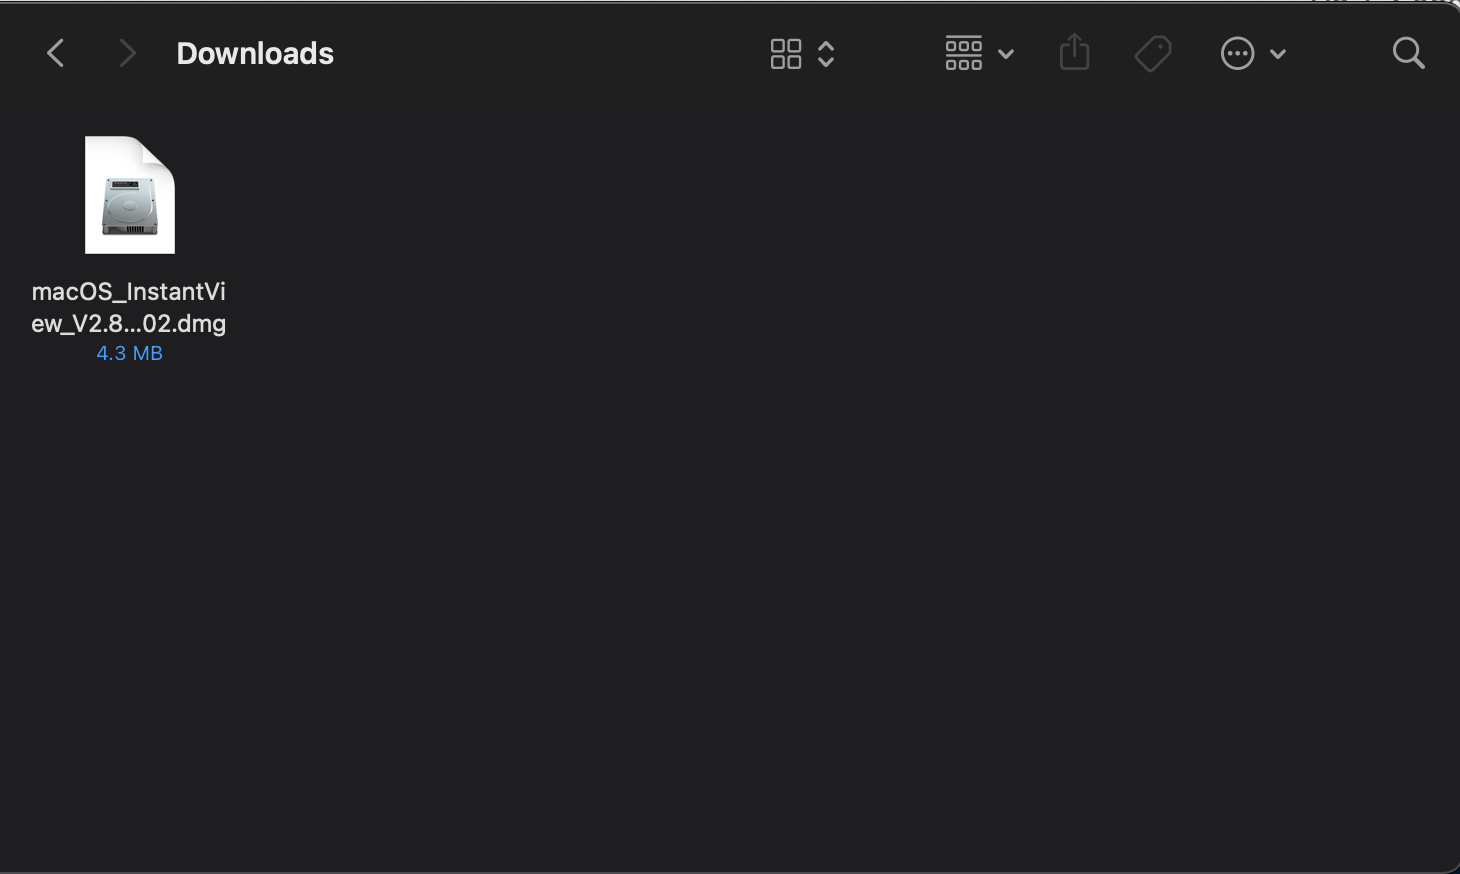
2. ダウンロードしたファイルをダブルクリックしてインストーラを開始します。
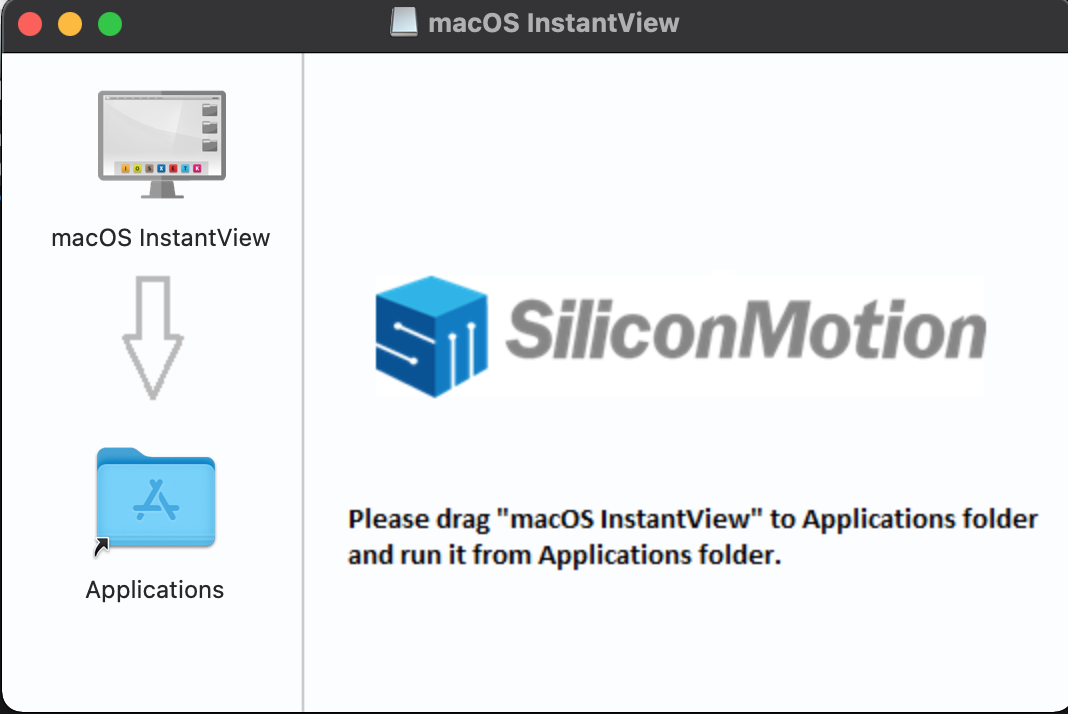
3. 開いたウィンドウ内の「macOS InstantView」アプリケーションを、アプリケーションフォルダーにドラッグします。(下記のように、「macOS InstantView」ウィンドウの左側にある「Applications」フォルダーの中に、「macOS InstantView」をドラッグするようにしてください。)
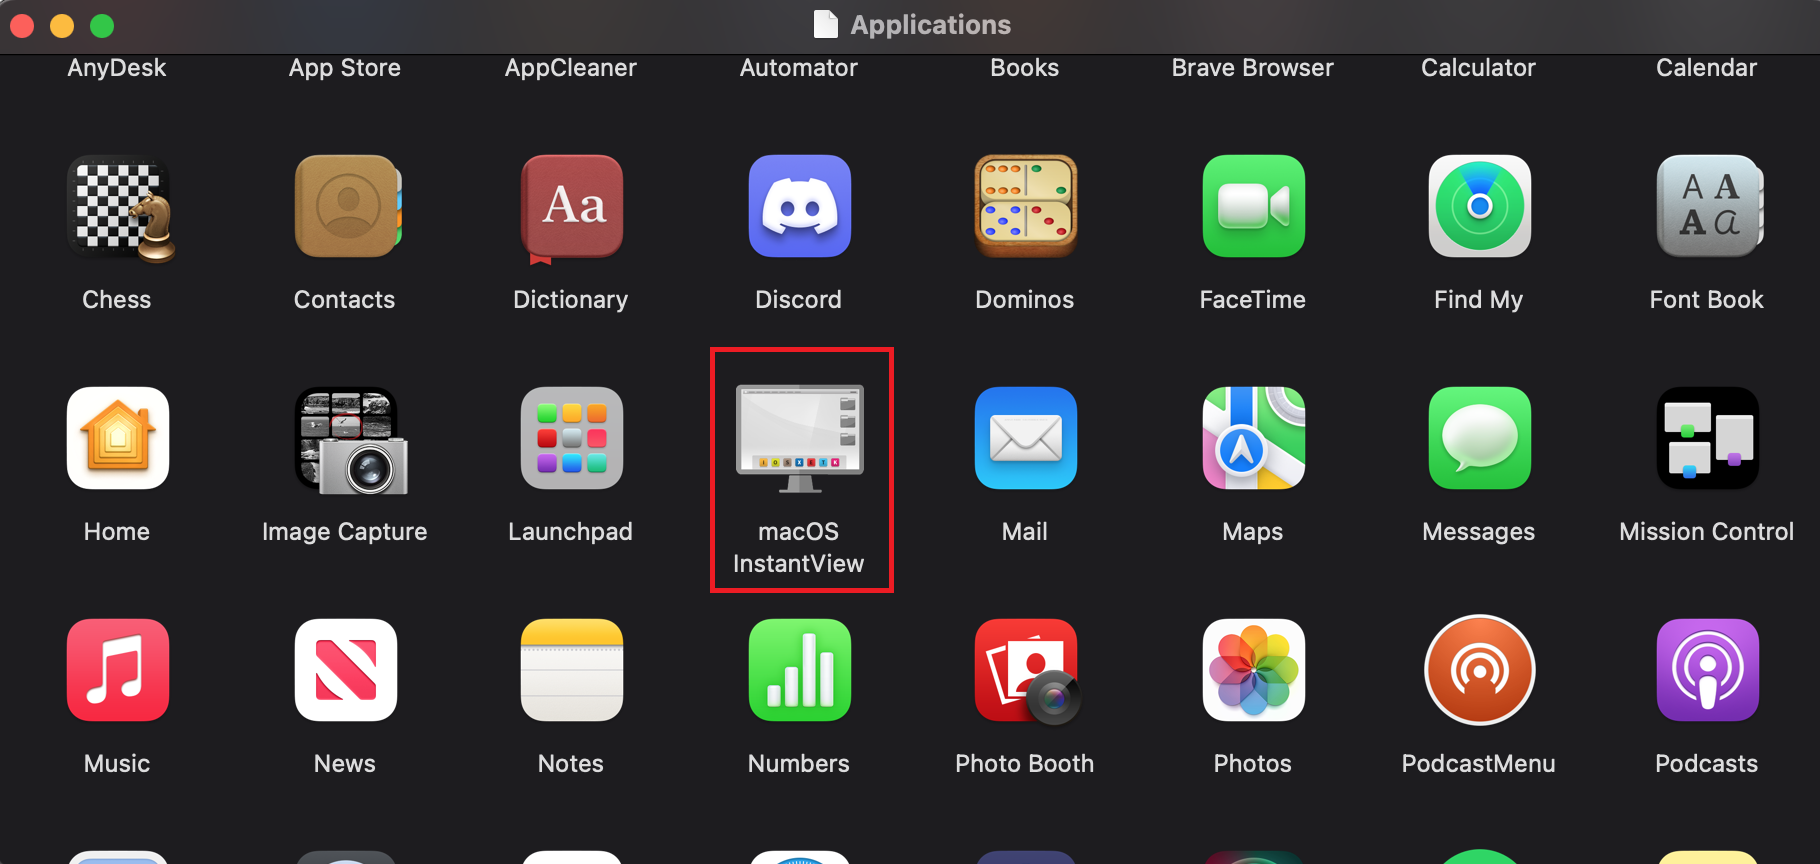
4.「Launcnpad」または「アプリケーション」フォルダーに移動して、「macOS InstantView」をダブルクリックして起動します。
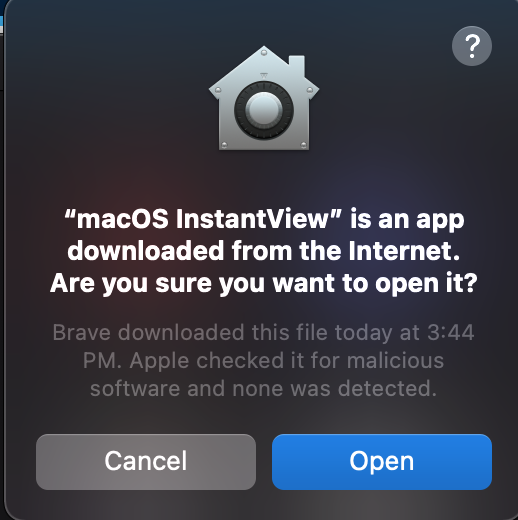
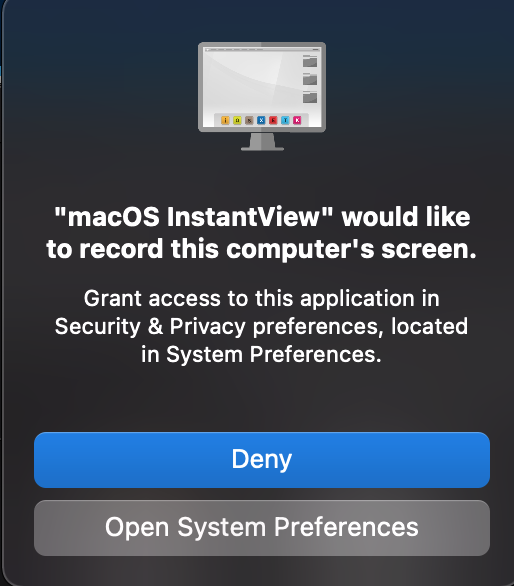
5. 「開く(Open)」ボタンをクリックします。
6. 次のウィンドウで、「システム設定を開く(Open System Preferences)」ボタンをクリックします。これにより、「セキュリティとプライバシー」画面が開きますが、もし自動的にその画面にならないときは、自分でこの画面に移動してください。
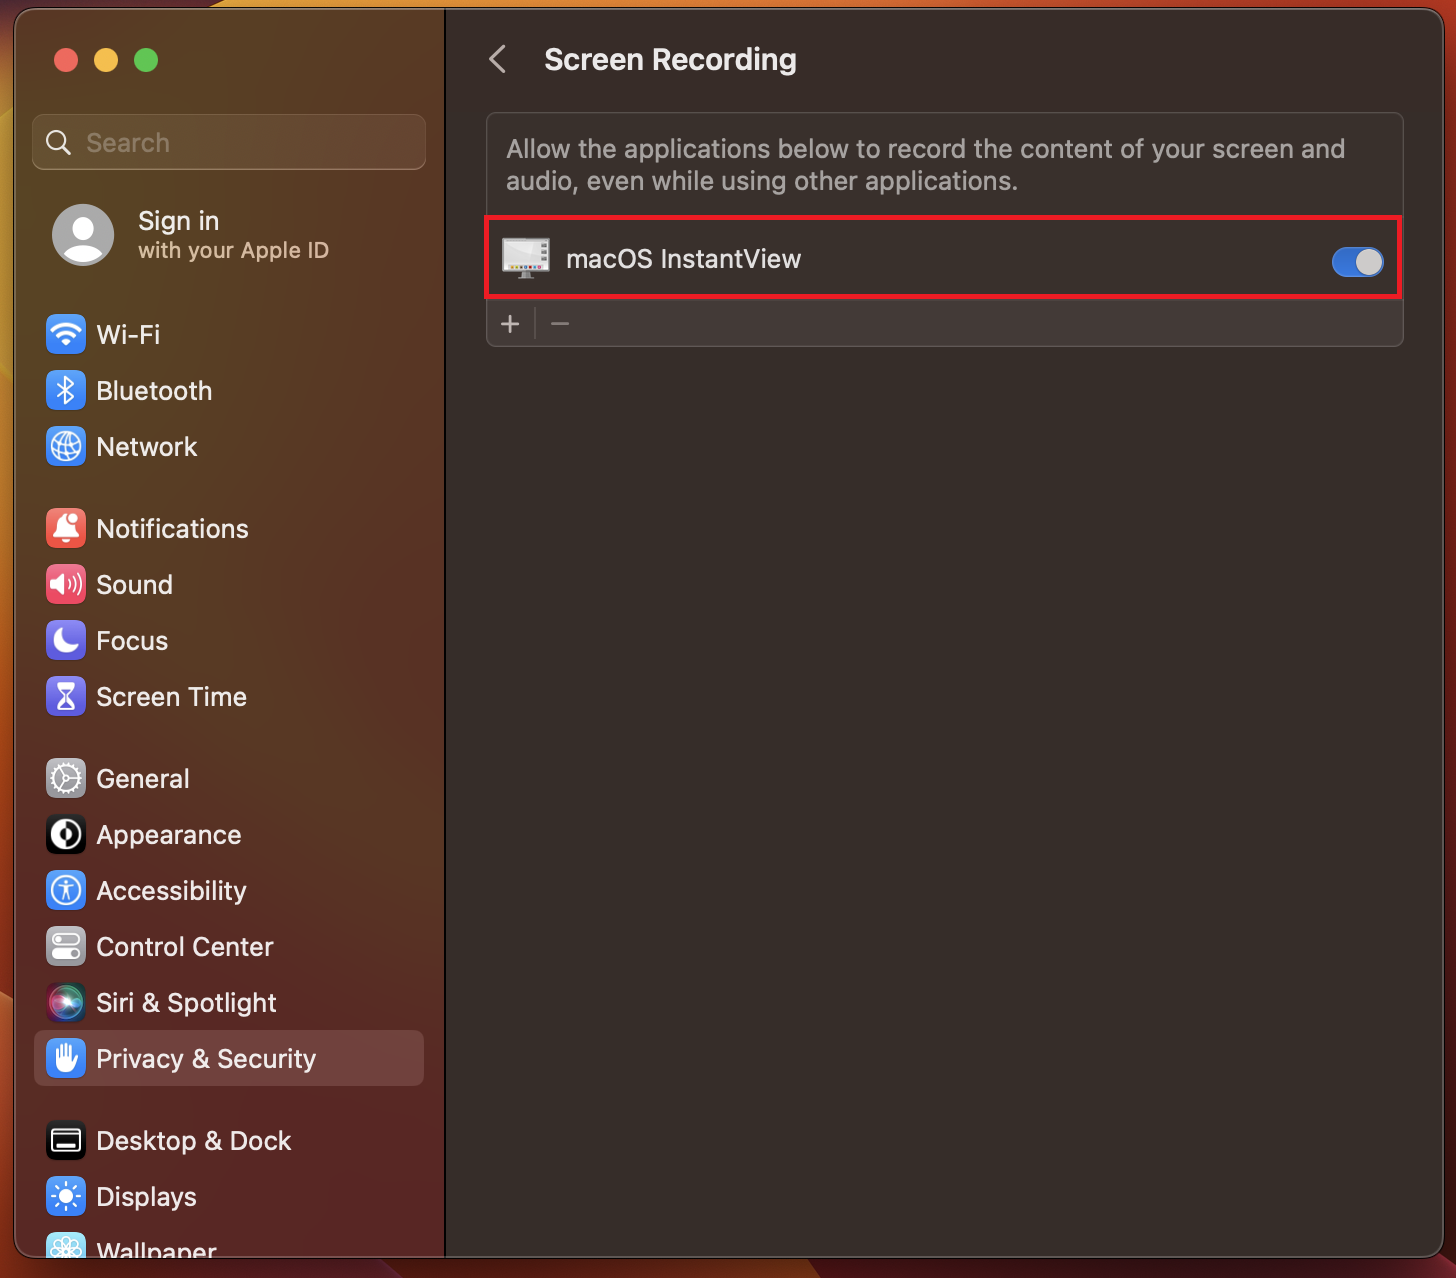
7. 画面収録の中のリストから、「macOS InstantView」の右側にあるトグルボタンをオンにします。
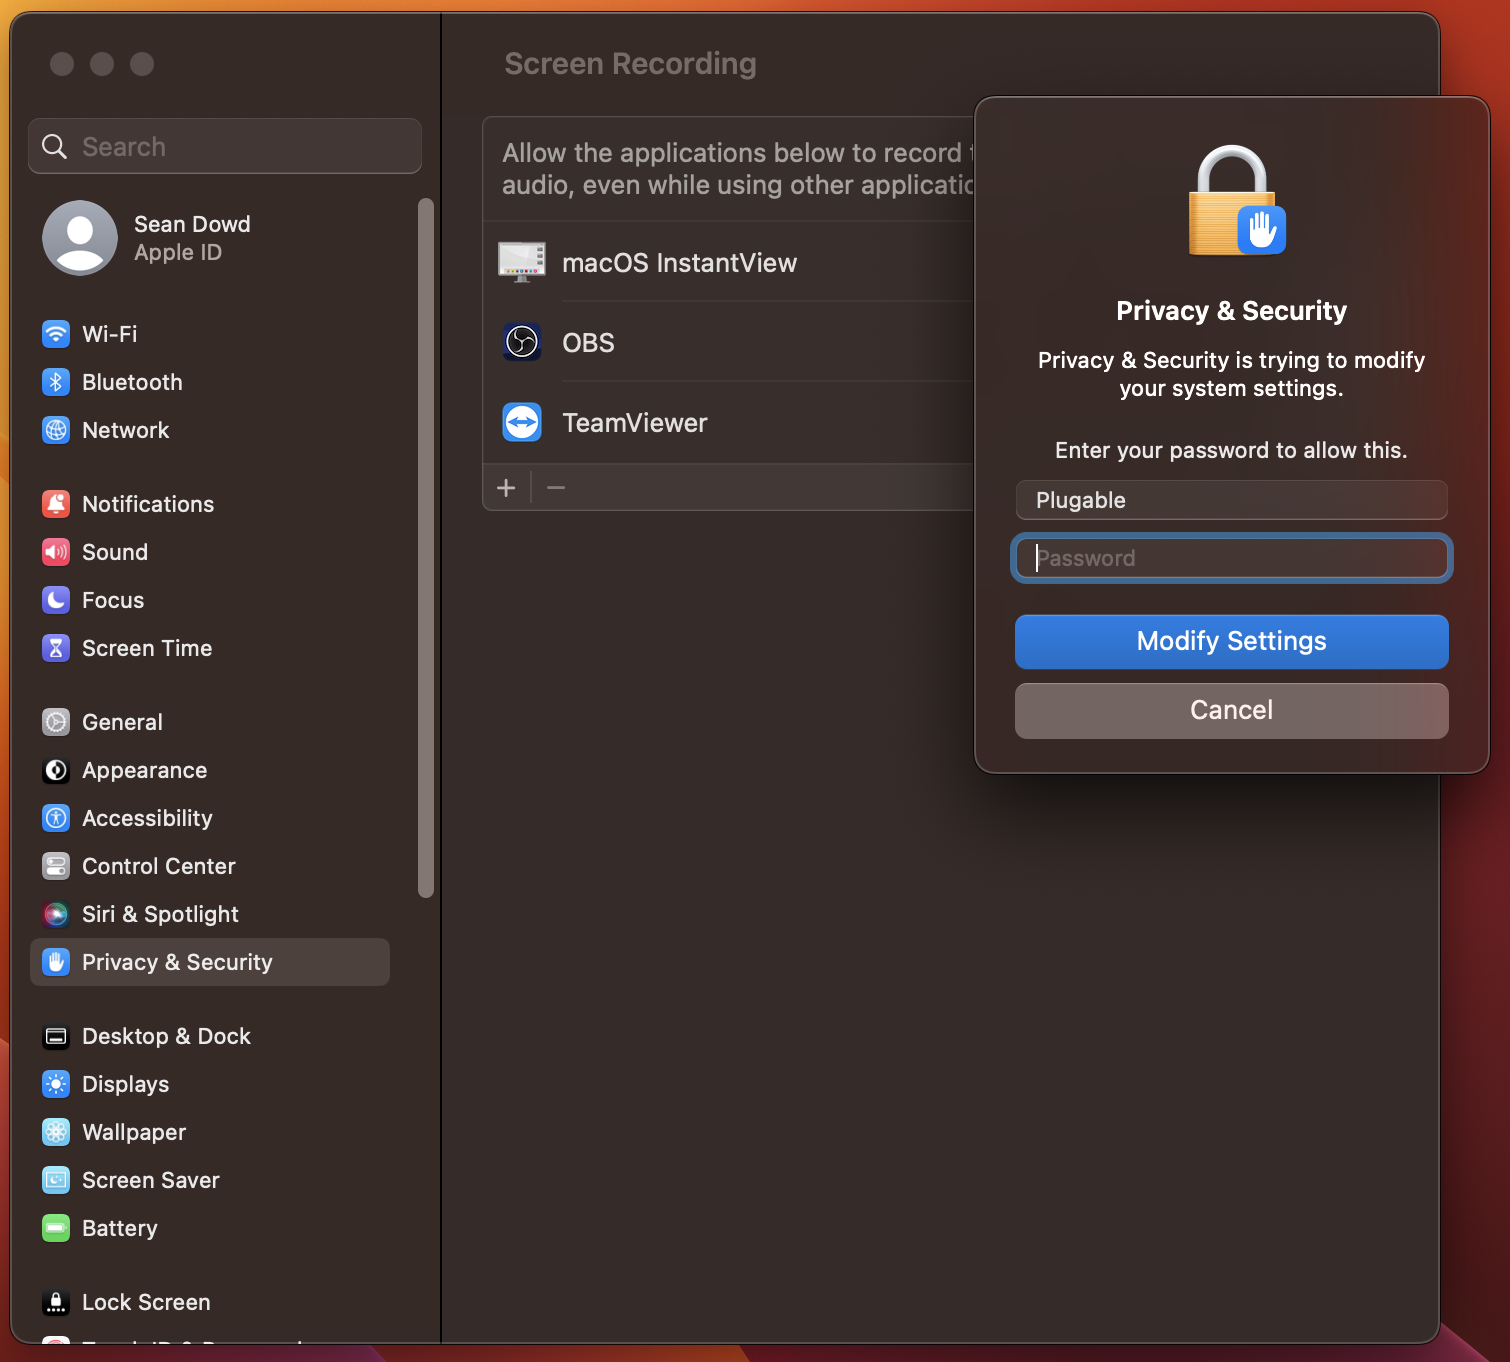
8. もしパスワードを入力するパネルが表示されたら入力し、「変更を加える(Modify Settings)」ボタンをクリックします。
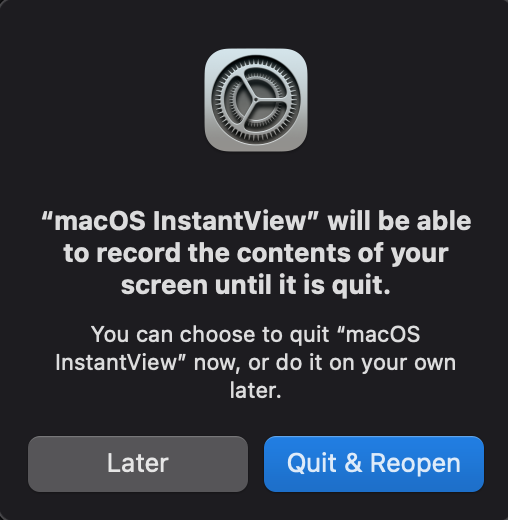
9. InstantView を機能させるために、一度終了して再開する必要があります。表示された画面の「終了して再開(Quit &Reopen)」ボタンを押します。
macOS 15 以上の場合:Apple 社のセキュリティ・ポリシーの変更により、画面収録設定は一か月に一度更新しなければならなくなりました。もしこの更新が行われないと、Silicon Motion 機器は正しく機能できませんので注意してください。

10. ドライバが導入されました。Plugable USB グラフィック変換アダプターやドッキングステーションを接続します。
注意: macOS InstantView アプリケーションが何らかの録画をしたりデータを保存することはありません。画面収録を承認すると、Silicon Motion ドライバがミラーリングまたは拡張スクリーンをレンダリングするために必要なピクセルにアクセスし、コンピュータから Silicon Motion ディスプレイに USB 経由でピクセルを送信できるようになります。
Silicon Motion InstantView アプリケーションの使用
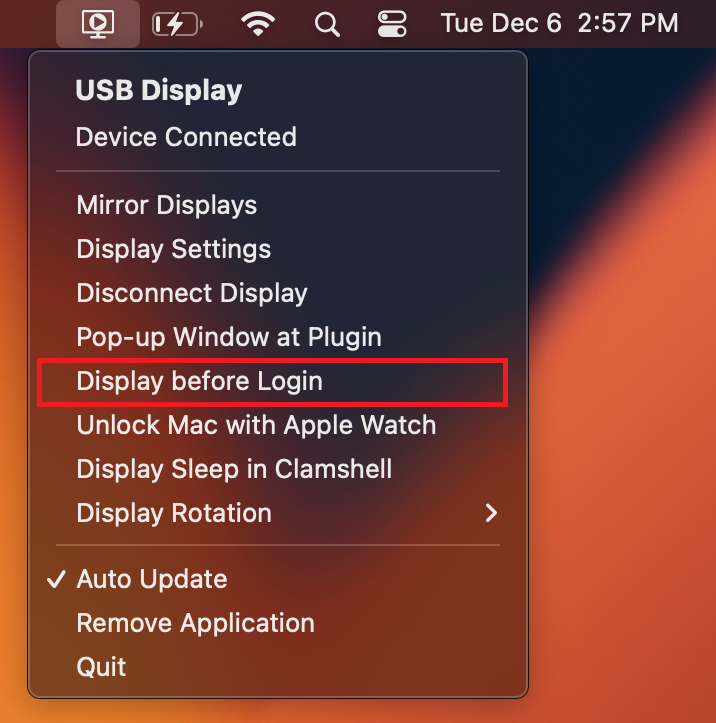
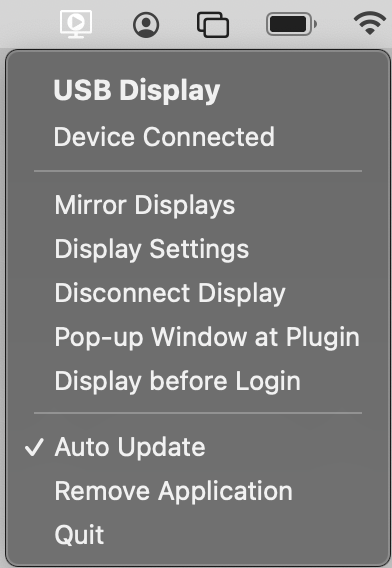
11. macOS InstantView が起動すると、アイコンが画面上部の Apple メニュー内に表示されます。アイコンを『右クリック』してコンテキストメニューを表示します。
12. メニュー内の「ログイン前に表示(Display before Login)」をクリックして有効にし、macOS ログイン画面が表示できるようにします。
13. InstantView が自動的に更新されるように、同じメニューで 「自動的に更新(Auto Update)」がチェックされていることを確認してください。
14. Apple メニューバー内の InstantView アイコンを『左クリック』すると、下記のようなアプリケーション画面が表示されます。
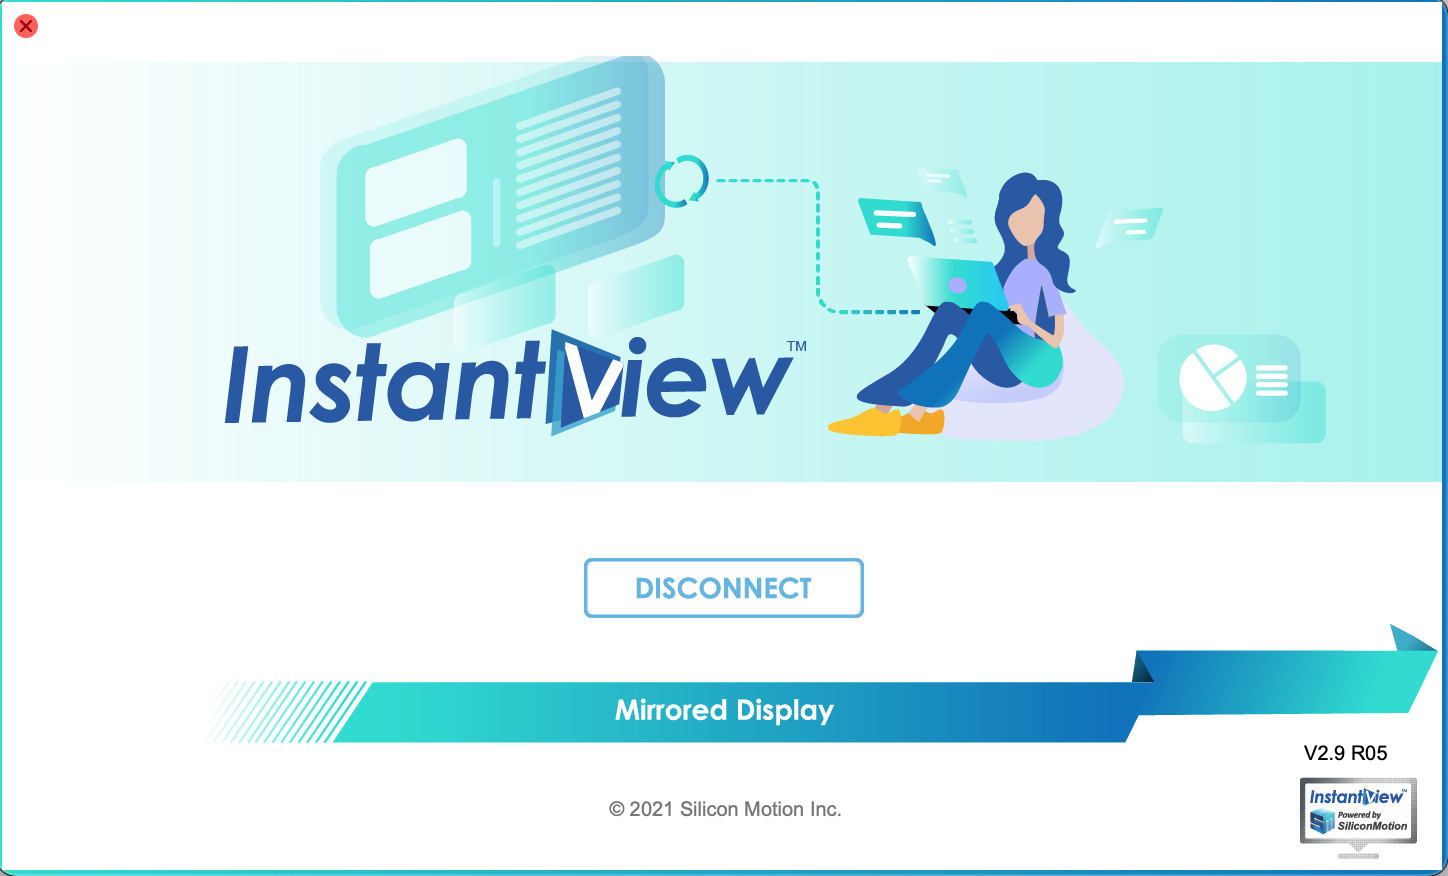
15. この画面から、Silicon Motion ベースのグラフィック変換アダプターで接続されたモニターを簡単に切り離すことや、複製・拡張モードを変更することができます。
2. [macOS 11 ~ 12.x] Silicon Motion InstantView 導入手順
1. Silicon Motion macOS InstantView を、Plugable 社ドライバ・ページからダウンロードします。
2. ダウンロードしたファイルをダブルクリックしてインストーラを開始します。
3. 開いたウィンドウ内の「macOS InstantView」アプリケーションを、アプリケーションフォルダーにドラッグします。。(下記のように、「macOS InstantView」ウィンドウの左側にある「Applications」フォルダーの中に、「macOS InstantView」をドラッグするよう注意してください。)
4. 「Launcnpad」または「アプリケーション」フォルダーに移動して、「macOS InstantView」をダブルクリックして起動します。
5.「開く(Open)」ボタンをクリックします。
6. 次のウィンドウで、「システム設定を開く(Open System Preferences)」ボタンをクリックします。これにより、「セキュリティとプライバシー」画面が開きますが、もし自動的にその画面にならないときは、自分でこの画面に移動してください。
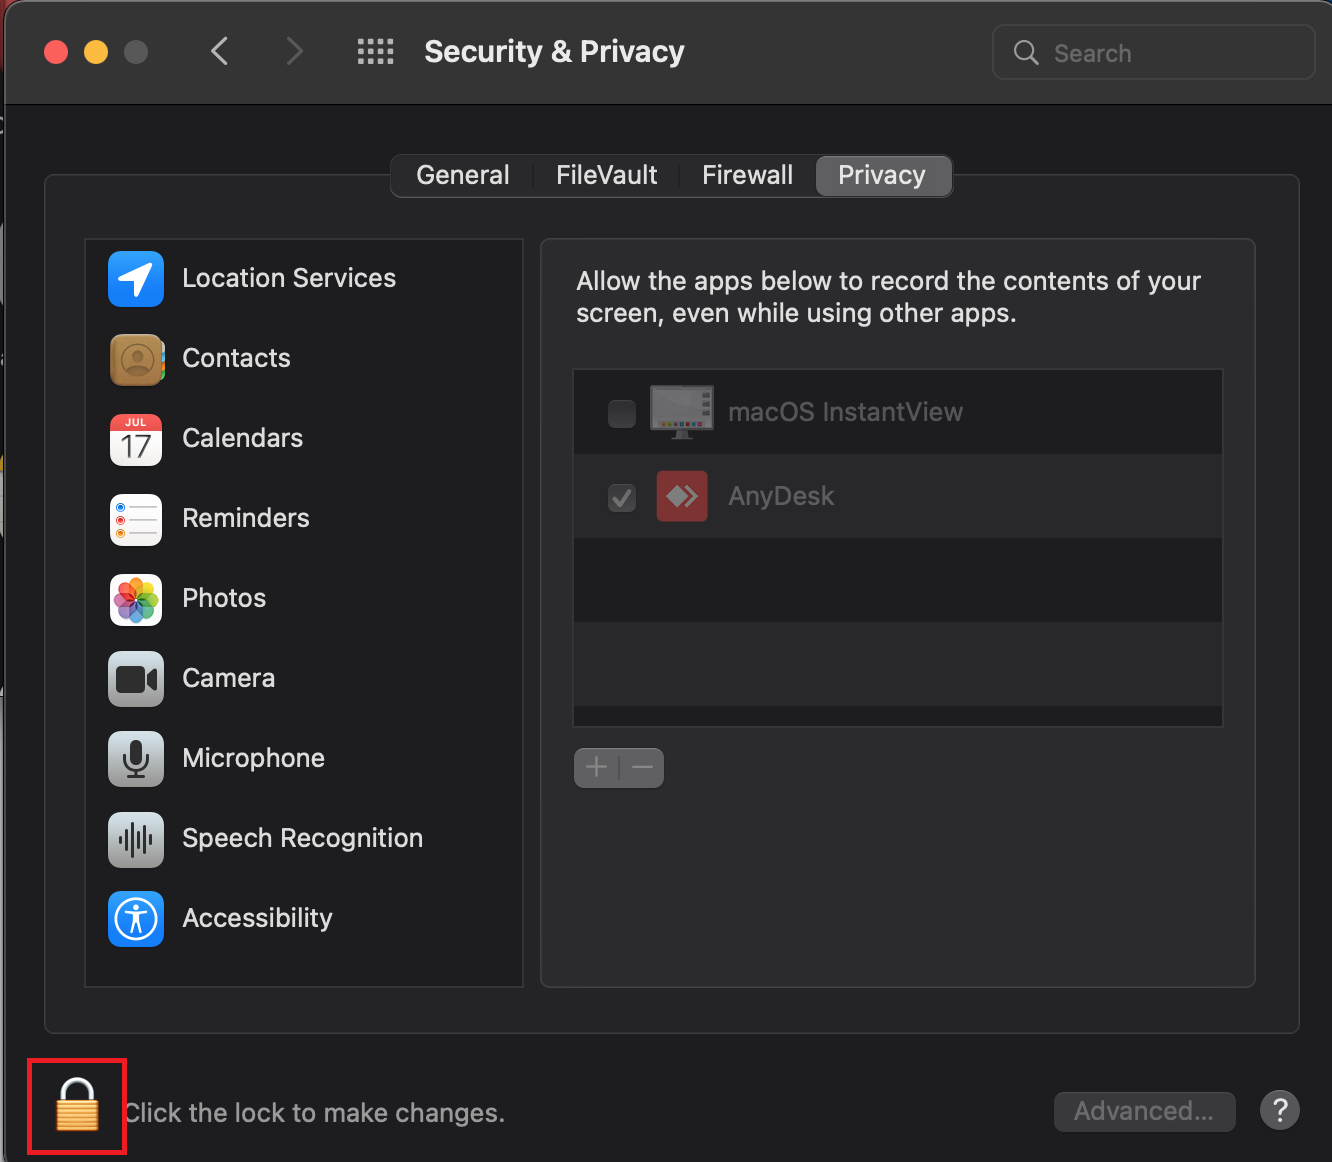
7. 変更ができるようにするため、画面左下にある黄色い鍵のマーク(「変更を加える」)をクリックします。
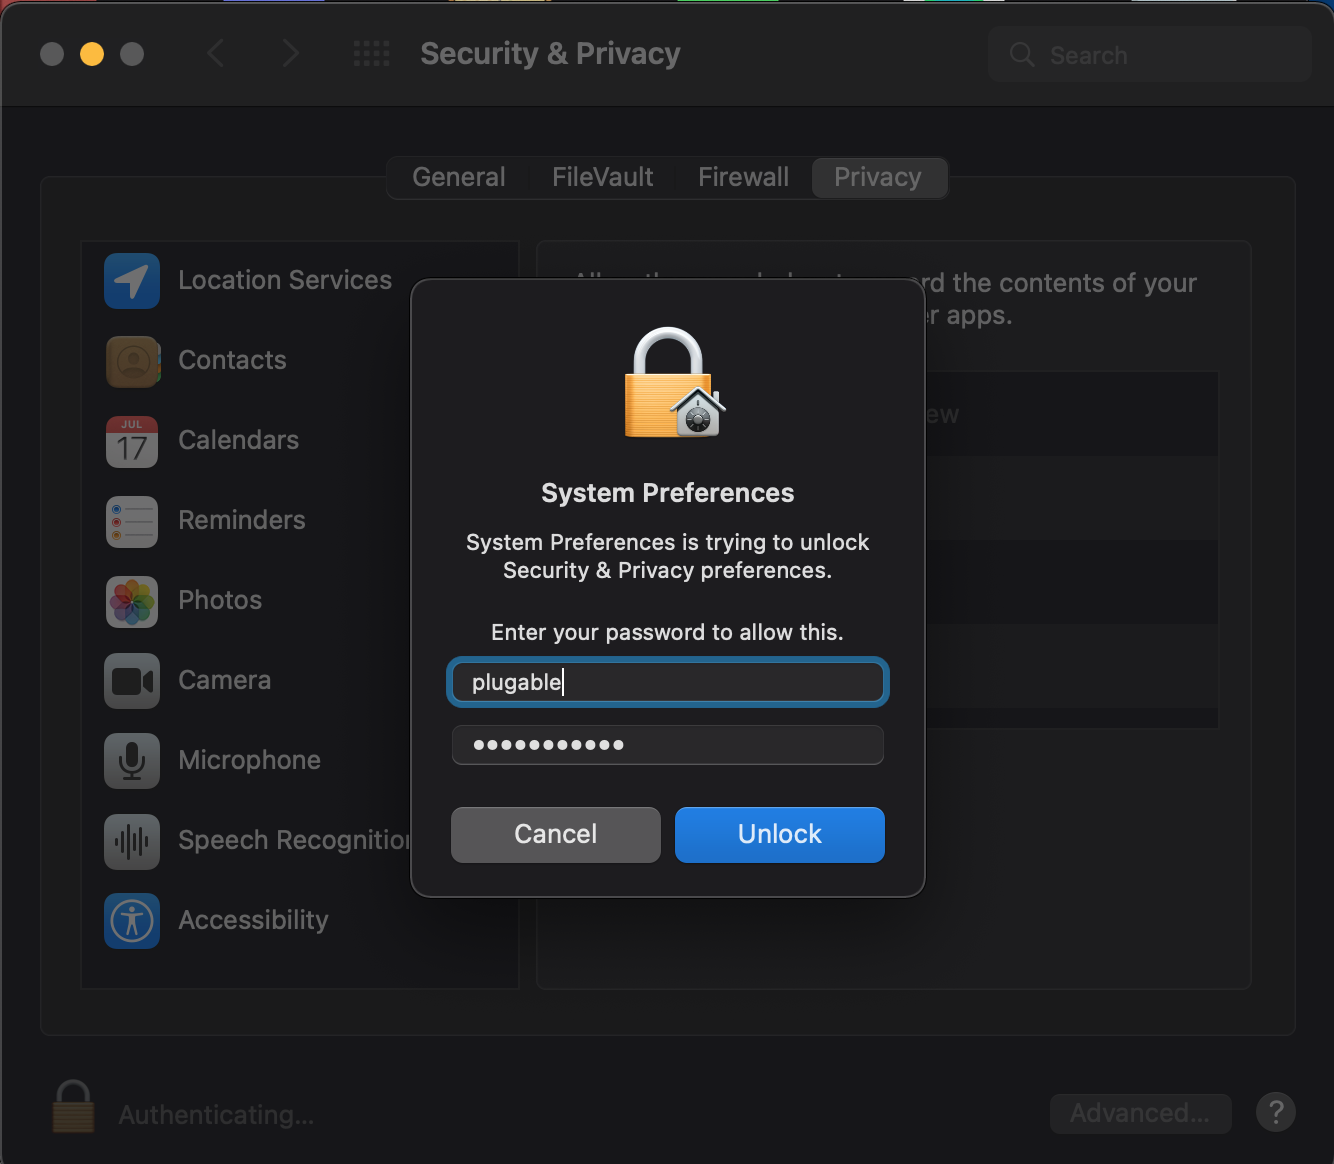
8. パスワード入力を促す画面が表示されたら、パスワードを入力して「ロックを解除(Unlock)」ボタンを押します(指紋入力できることもあります)。
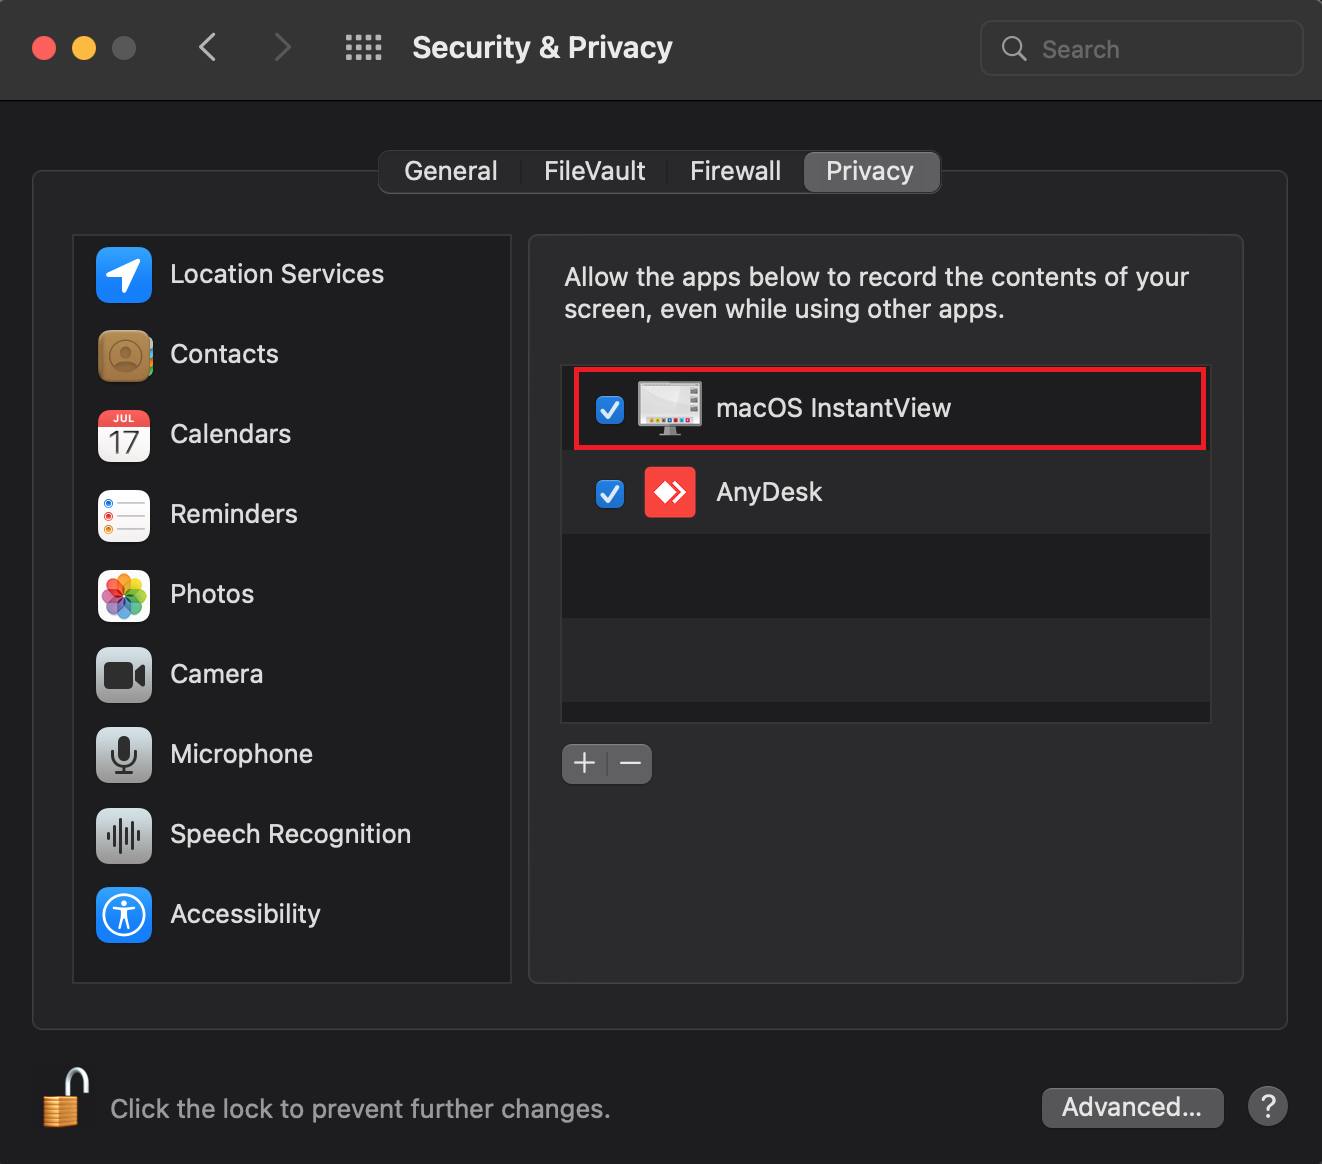
9.「プライバシー」タブ内の「macOS InstantView」の横にあるボックスをチェックします 。
10. プロンプトが表示されたら、「終了して再開(Quit & Reopen)」ボタンを押します。
11. ドライバが導入されました。Plugable USB グラフィック変換アダプターやドッキングステーションを接続します。
注意: macOS InstantView アプリケーションが何らかの録画をしたりデータを保存することはありません。画面収録を承認すると、Silicon Motion ドライバがミラーリングまたは拡張スクリーンをレンダリングするために必要なピクセルにアクセスし、コンピュータから Silicon Motion ディスプレイに USB 経由でピクセルを送信できるようになります。
Silicon Motion InstantView アプリケーションの使用
12. macOS InstantView が起動すると、アイコンが画面上部の Apple メニュー内に表示されます。アイコンを『右クリック』してコンテキストメニューを表示します。
13. メニュー内の「ログイン前に表示(Display before Login)」をクリックして有効にし、macOS ログイン画面が表示できるようにします。
14. InstantView が自動的に更新されるように、同じメニューで 「自動的に更新(Auto Update)」がチェックされていることを確認してください。
15. Apple メニューバー内のInstantView アイコンを『左クリック』すると、下記のようなアプリケーション画面が表示されます。
16. この画面から、Silicon Motion ベースのグラフィック変換アダプターで接続されたモニターを簡単に切り離すことや、複製・拡張モードを変更することができます。
